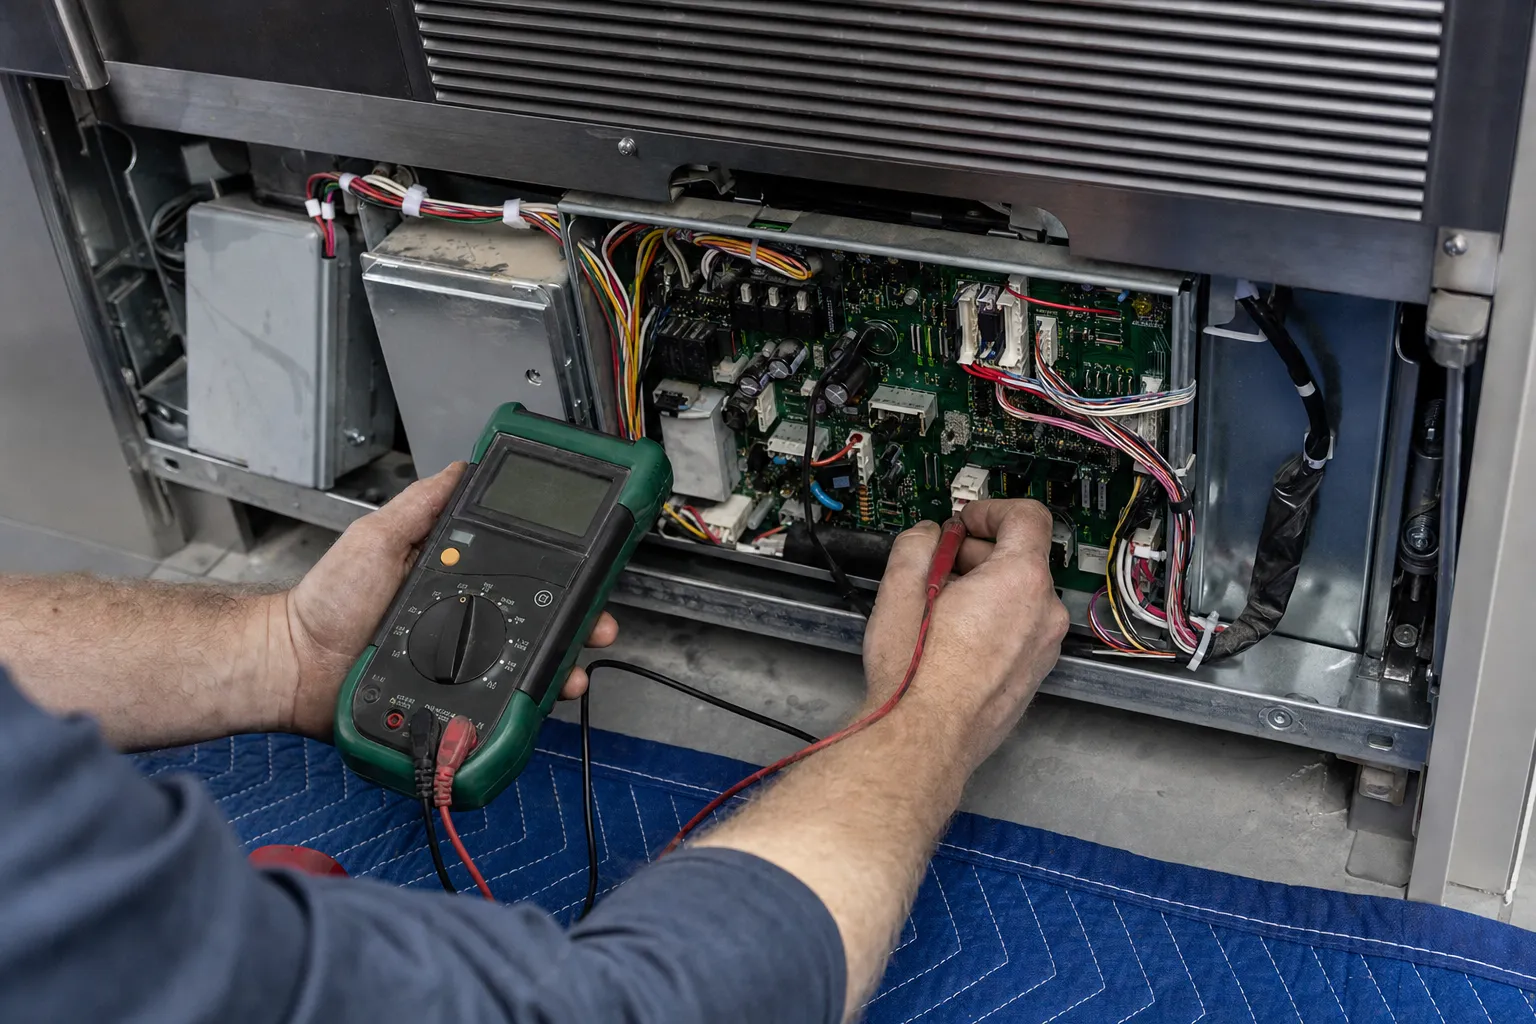
Freezer Repair
Manually Defrosting a Sub-Zero Freezer Without Damaging It
To manually defrost a refrigerator-freezer, switch it off, move the food into coolers and let the ice melt on its own or with only the gentle heat your model's guide allows, never a knife, ice pick or heater. Then find out why the ice formed.
Compiled by Marta Fennimore Refrigeration technician — ice systems and water supply · 12 years in the trade EPA 608 certified

The short answer: when you manually defrost a refrigerator-freezer, turn the unit off, empty it into coolers, lay down plenty of towels and let the ice soften until it lifts away by hand. The one thing you must not do is pry, chip or blast heat at it, because the plastic lining and the cooling coil behind it are far easier to damage than the ice is to remove. Here in Sammamish the air stays damp through most of the long wet season, so a door that does not quite seal can load a freezer with frost surprisingly fast, and that makes the second half of the job just as important: working out where all that ice came from.
Why ice builds up in a freezer that defrosts itself
Each time a door or drawer opens, room air rolls in, and that air carries water vapor. The coldest surface inside is the evaporator coil, tucked behind a rear or upper panel, so the moisture freezes onto its fins. A Sub-Zero built-in deals with this on its own. At set intervals the control switches on a defrost heater, the coil warms just enough to shed its coat, the meltwater runs down a drain, and a sensor ends the cycle long before the food notices. Owners rarely see any of it happen.
Manual defrosting only becomes necessary when that routine falls behind. The usual reasons are a door left ajar overnight, a gasket that has torn or flattened, a drain line frozen solid, or a part of the defrost circuit itself, such as the heater, its thermostat or a sensor, that has quit. If you want to read the ice before you melt it, our guide to what a freezer’s frost pattern tells you covers that in detail.
Before you start: food, towels and time
Empty the unit first. Sub-Zero’s own guidance for a power cut is that an empty unit typically takes 3 hours for its freezer to warm beyond 20°F (-6°C) and its fresh-food side beyond 45°F (7°C), and that figure assumes the doors stay shut. A defrost runs with them wide open, so the cabinet will warm much faster. Pack frozen food into coolers with ice, or borrow space in a neighbor’s freezer, before anything gets switched off.
Then set up the space:
- Turn the unit off at its control panel, or at the breaker if your model’s guide says to.
- Pull out drawers, bins and loose shelves so water has a clear path down.
- Lay thick towels along the bottom of the compartment and on the floor in front. A built-in sits flush with the cabinetry, so any water that escapes runs straight onto hardwood or tile.
- Keep a shallow plastic tub and a large sponge within reach to catch water as it pools.
Melting the ice the right way
Patience does most of the work. With the power off and the doors open, ordinary room air will loosen frost by itself; a thin coat clears fairly quickly, while a thick shell can take much of an afternoon. Lift sheets away by hand once they come free. If a piece resists, it is not ready yet, and forcing it is how linings crack. A bowl of hot water set on a folded towel inside, with the door closed for a few minutes, speeds things along without bringing electricity near the water.
If you want to go faster still, follow the guide written for your series rather than a general tip. Sub-Zero’s Classic (CL) and Designer (DET, DEC) instructions allow a hair dryer on its low setting, kept constantly moving, with the unit off. The PRO Series guide says the opposite: use a handheld steamer, not a hair dryer. Whichever applies, keep the cord clear of standing water, never rest the tool inside the compartment, and stop if any plastic surface feels warm to the touch.
Why chipping the ice off is a costly shortcut
USDA food-safety guidance is plain on this point: an electrical heating device, an ice pick, a knife or any other sharp object should never be used to clear frost, because each one can damage the inner lining. The lining is only the visible risk. Under a heavy layer at the back wall sit the cover over the evaporator and the thin tubing that carries refrigerant, and a single slip with a pointed tool can pierce them. Once refrigerant escapes, what began as a free chore becomes sealed-system work, which typically runs $1,460–$3,380 with the firm price set after diagnosis. Space heaters and heat guns fail in the other direction: they can warp plastic panels, and they put a live appliance beside running water.
Drying out, cleaning the seal and switching back on
When the last of the ice is gone, wipe every surface dry, including the drawer runners and the floor of the compartment, so nothing refreezes into a fresh skin. While the unit is still off, clean the door gasket. Sub-Zero’s advice is a soft cloth with water and a little mild detergent; for marks that will not lift, work in a paste of baking soda, and where mold or mildew shows, use bleach diluted 1:10 with water. Leave vinegar and rubbing alcohol out of it entirely. Run your fingers along the seal as you go. A rip, tear or crack means it should be replaced, and Sub-Zero suggests a technician handle that because gaskets are sold only through its parts distributors, not online.
Switch the power back on and check the settings. On Classic (CL) and Designer (DET, DEC) models the freezer comes preset to 0°F (-18°C) and the refrigerator to 38°F (3°C), so if yours reads differently, decide whether someone changed it on purpose. Give the freezer time to reach its set point before restocking.
When the ice comes back
A manual defrost clears the symptom, not the cause. If thick frost returns within a few weeks, or a temperature warning sounds after each automatic cycle, something in the door seal or the defrost circuit needs attention, and an alarm after every defrost has its own short list of causes. A failed heater, defrost thermostat or sensor typically costs $300–$690 to put right, and a new door gasket typically $300–$630, with the firm figure given once the fault is confirmed. Booking costs $89 for the visit and a full check of the unit, and that amount is credited in full toward the repair when you approve it. Households in Klahanie, Pine Lake, Sahalee and the Trossachs can call (425) 610-8986 or read more on our freezer repair page.
Common follow-ups
Can I use a hair dryer to defrost a Sub-Zero freezer?
Only if your model's own guide allows it. The Classic (CL) and Designer (DET, DEC) instructions permit a hair dryer on low, kept moving, with the unit switched off, whereas PRO Series owners are told to reach for a handheld steamer instead and skip the dryer. General USDA advice warns against electrical heaters of any kind, so simply letting the ice soften with the doors open is always the safe fallback.
How do I fix snow inside my freezer?
Snowy, feathery frost nearly always means damp room air is sneaking in, so defrost and dry the compartment first, then hunt for the gap. Make sure no package or bin stops a door or drawer from closing, wash the gasket with mild detergent and water, and look along it for tears. A ripped or cracked seal needs replacing rather than cleaning.
Is it safe to chip the ice off with a knife or ice pick?
No. A blade or pick can gouge the plastic lining and, near the back wall, can reach the coil cover and the thin refrigerant tubing behind it. One puncture turns a free afternoon chore into sealed-system work, so wait until each sheet of ice comes loose by hand.
Do I need to keep my food somewhere else while I defrost?
Yes, move everything into coolers packed with ice, or into a second freezer, before you switch the unit off. Sub-Zero's power-cut figure is roughly 3 hours for an empty unit to pass 45°F (7°C) in the refrigerator section and 20°F (-6°C) in the freezer with the doors shut, and a defrost leaves them open.
Why does my Sub-Zero keep icing up after I defrost it?
Heavy ice that keeps returning on a self-defrosting unit usually comes from a worn gasket, a door that does not close fully, a frozen drain, or a failed defrost heater, thermostat or sensor. Testing that circuit is part of a diagnosis visit, and replacing one of those parts typically runs $300–$690, with the firm quote given once the fault is found.